I am totally taken and enthusiastic about the ideas in this video - since I have a small garden myself that went to ruin over the past two years (for health reasons). I am re-designing and replanting it and really enjoy some of the creative ideas shown here - Feast your eyes:
|
The costumes shown on this show are quite easy to make with a little thought - and the method of presentation is brilliant! So enjoy and grab some great ideas at the same time:
These ideas for coping and managing in a small apartment, or with small spaces are brilliant, enjoy! I certainly did: This oven is simple to make - just be prepared to get really dirty! - like making mud pies. A must for any garden with a spare area and great when your oven is temporarily playing up: Here in the 21st century we like things clear, uncluttered and with clean lines (at least many do). This makes your environment easy to arrange and very simple and quick to clean and tidy up. The designs in the following video satisfy all these requirements, while not losing sight of the need for beauty. Enjoy:
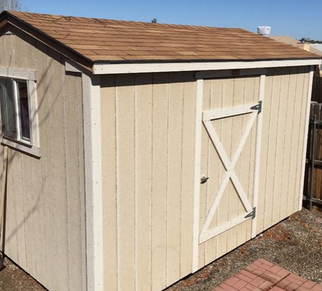
No room to work in the house and no room for storage - go to the garden - with a garden shed makeover that's not expensive and looks great, from instructables. On the sideline, the garden is a quiet and beautiful place to work - a few tubs of good-smelling in herbs at the entrance make it even more appealing:
These ideas are relatively simple and clever - and though you do need a handyman around the house - this video makes you fingers itch to start a project:
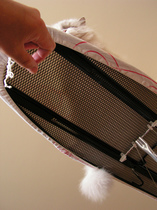
Another way to measure and cut the batting
Take off the cover - usually tied on with ties, or elasticized (look underneath and you will soon figure out the method)
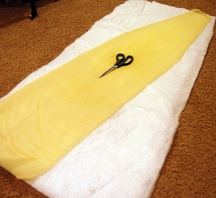
Place a thick piece of quilt batting on the board and let it hang over the sides. You could also use an old blanket that has been doubled over. Now cut the batting in the shape of the board, about 5 inches away from the board. Do not do this where the board is joined to the iron-holder, just cut is level with the board here. Take your ironing board cover and sew ties on either side of it - 2 at the bottom and 2 at the top. These will be used to tie the cover on since the whole setup is a lot thicker now. Make sure you don't sew them in a place where you will prevent the board from opening and closing. Once the ties are on, place the cover on top of the batting (or old blanketing, which you treat in exactly the same way). Make sure that it is tied on in the same way that you took it off, and then tie the ties that you have made in place. That's it - you have a well padded ironing board, that will do wonders for your ironing now.
I just have to share this with you - this is a brilliant use of rubbish to create some really useful and money-saving also. Thanks to instructables.com. where full instructions are given and you can also download a pdf so you can have it on your mobile as you work. A solar heater that's so simple, even I could make it. 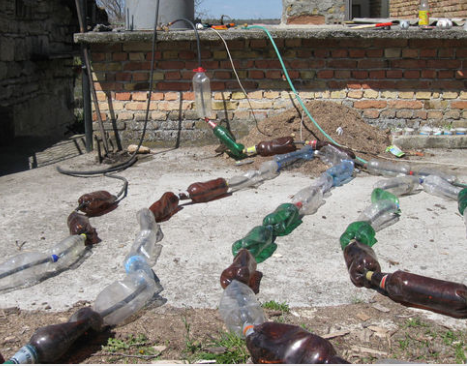 |
AuthorJust a simple person who loves the good things and the knowledge that the web has to offer - Take a journey with Leah around the Web-Globe. Categories
All
Archives
November 2017
|

 RSS Feed
